2017-08-10
2:21:14 PM
HOW TO ESTABLISH A PODCAST, STEP-BY-STEP
Introduction
Podcasting is a serious way of reaching out to millions of people out there. This is something which started several years ago and it’s not about to slow down any time soon. the following information will help you on how to establish a podcast.
Research has shown that most broadcasters are eager to get into this business of producing podcasts. All you need is an audio recorder and an application for getting your message out there.
You have to note that it’s not easy to create a podcast which is professional. This guide will provide you with insights on how to go about it and on the process get people to listen.
Commitment
Before you embark in producing podcasts, be ready to commit your time and resources. This is very important.
Podcasting will require lots of time and effort to keep going. It’s not about recording people who are talking. It’s more than that.
It’s essential that you treat podcasting with a lot of seriousness that it deserves. It is a huge project in itself.
There is a lot of fun which is involved in podcasting. Before you commence your podcast.
Never make the assumption that podcasts are very easy to produce because they involve audio only. Never be fooled that way.
You require plenty of time to put the content together. This is the case when you are doing it for the first time. Podcasts perform better when they are produced and released with consistency. This is very essential if you want to build a fan base.
All release all episodes at the agreed time and on a regular schedule. If you do that podcasting can involve a lot of fun.
Do not expect to get rich from podcasting. In order to make money, you need to look for advertisements and sponsorships. But first you have to build a huge audience in order to attract any advertisers.
I started a podcast to get my voice heard. I’m planning to produce podcasts consistently for the next five years in order to build an audience.
Requirements
There is no podcast which can be established without proper equipment. The better the equipment, the better the podcasts produced. The following is a highlight of all that you need for podcast production.
- Personal Computer: You need a Mac or Windows computer to be used for recording, editing and uploading podcasts. You are lucky that editing audios does not require lots of computing resources. You can choose to record into a dedicated recorder or directly into a computer. Make sure your computer has USB ports which can accommodate microphones and other accessories. It’s better to get a computer which can accommodate various devices.
- Microphone(s): You can use any microphone for recording your podcasts but listeners are good at telling the difference in quality of audio. Here is a list of five best desktop microphones which you can consider. The USB microphones are the best because they convert analog sound into digital and hence sound can be fed directly into a computer. The problem is that the audio quality is lower than that of analog microphone. Note, that you do not require any additional devices when recording with USB microphone. Therefore, USB microphones can help you run on a small budget.
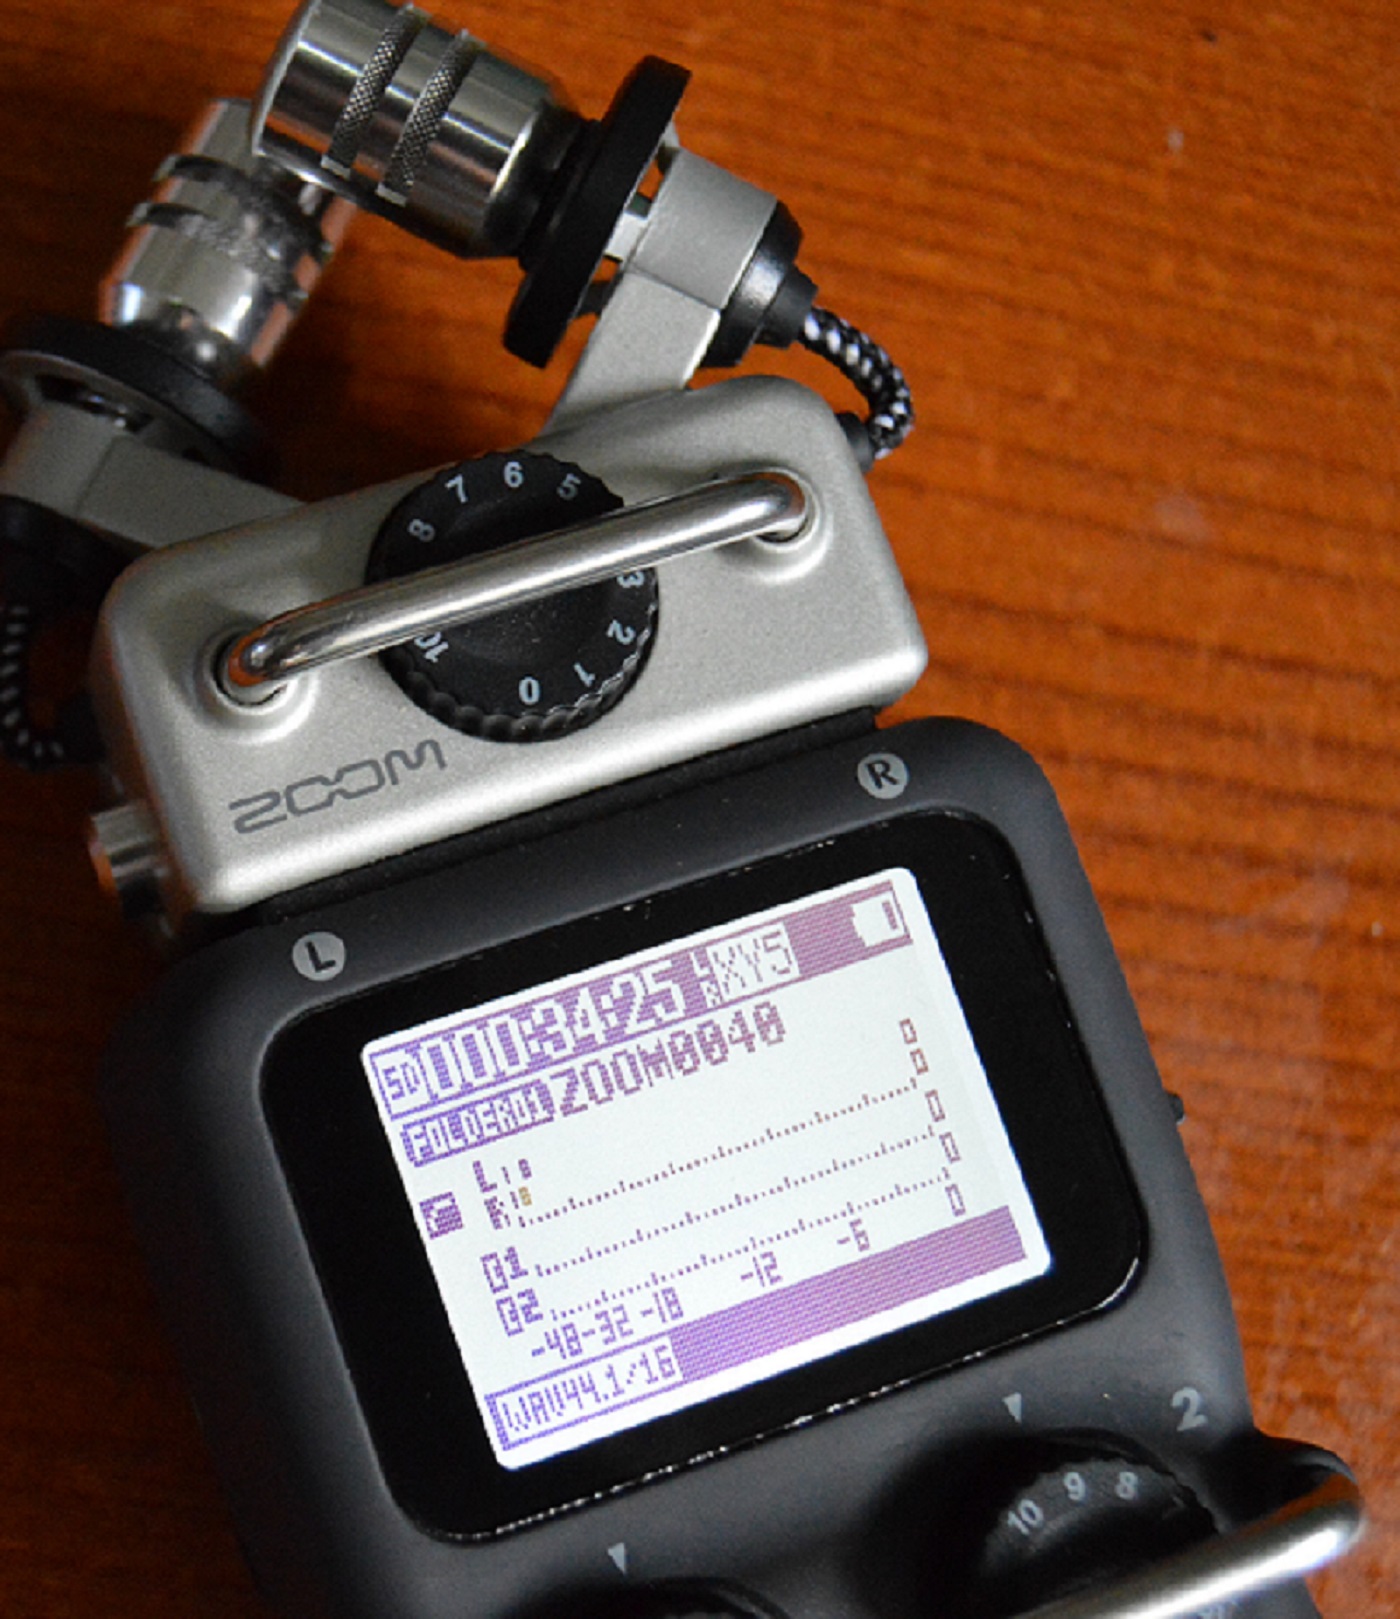
- Portable Recorder: This is optional. This is optional requirement. It will be useful if you opt to use analogue microphones. Obviously you will need a recorder to capture the analog audio and then converts it into the usable digital audio sound. The beauty with some of the portable recorders in the market is that, it can record multiple channels. This can allow you to easily mute and do level adjusting quickly without any mishap. All audio files are stored in an SD card for quick access. All you need is to insert the SD card into your card reader or into the computer direct and start editing. This is amazing. The only problem is that the set up can be expensive to acquire. On the recorder alone I spent $270. I use H5 Zoom Handy Recorder for my podcast production. It now enables me to record 4 analog channels. By the way Zoom H6 Portable recorder is also available in the market.
- Audio Editing Software: For successful podcasting, you need what we call a Digital Audio Workstation (DAW). There are many in the market to choose from. The workstation can cost you between $300 and $900. I am lucky that all Zoom products comes with a license for downloading a free audio editing software. Adobe also has its own audio editing software called Audition CC which is available at $19.99 subscription fee per month. My advice is that you should not start putting money into an auditing software if you are just starting out.
- Audio Interface: This equipment is optional. You will only require it of you are recoding audio using analog microphones. This is a point to the importance of using USB microphones. The interface is a must-have when you are using analog mics to convert analog to digital signals. You will invest $30 to $300 on this equipment depending on the type of interface to want to buy.
Up to this point, you may be thinking that all these equipment makes podcast production a very expensive affair. You are right. The consolation for me has been that, this is lifetime investment if you take care of the equipment that you purchase now. Starting is the expensive bit but afterwards it is research and production time only.
Below are the steps that you can follow in podcast production:
1. Carefully choose a niche and discussion topic
Podcast production is just like blogging. Remember, there are numerous podcasts out there. For you to stand out, you will need to choose you niche in order to stand out.
Just to jog your memory, you can podcast about politics. Just find out if there is an audience ready to listen to your podcasts. You may further narrow your podcast to a particular aspect of politics. You can cover politics, people and county assemblies for instance. You can get a co-host to work with on your podcasts. It’s true that anything you are planning to do has been done before, the only difference is that it has not been done the way you want to do it. Therefore, just find an angle which is unique for you alone.
- Download, Install, and Set-Up Audacity
Audacity, is a wonderful DAW for beginners in podcasting. The beauty with this software is that it is open source. It is free to use as long as you like it. You can use it on you OS X, Windows or Linux.
Below are a few tricks to help you set it up properly:
- Download the latest version of audacity from audacityteam.org and then install it as required.
- Connect your microphone and open the application (audacity).
- Check the dropdown menu located next to the mic icon to confirm whether the mic is recognized by the software. If you notice your mic go right ahead and select it.
- Check on the top-left corner. Here you will see several menu buttons such as record, pause, play, stop etc. Click on the record button and start talking into your mic to check whether it is working as expected.
- Stop the recording and test by playing back what you have just recorded. If all sounds great, you are set to go.
- Later on you will be required to export your audio file in MP3 format. Therefore, download the Lame MP3 encoder for Mac or Windows.
- After installation, shut down and reopen audacity. Record yourself talking for a few seconds. Then open file and export Audio file in MP3 format. This is in the ‘save as type.’ If you like the sound in the test file, you are read to record your first podcast on audacity.
3. Record and edit your first Podcast in Audacity
It is very easy to record in audacity. Just ensure that your location where you conduct the recording is silent. When recording a podcast, you are just required to hit the record button. When you have completed recording, hit the stop button. Simple. Then add music and any required editing.
Go to file and import your work as audio file.
The selection tool in audacity looks like a typing cursor.
Drag the selection tool over the part which will act as your introduction.
Using Multiple Microphones
If you want to record your podcast on multiple analogue microphones, you should use an audio interface or a mixer connected to your personal computer. You will record everything on a portable recorder and later upload the files onto your computer for editing.
If your co-host is not in the same location as you, you can use Skype, internet calling services or Google Hangouts.
Note that audacity does not support Skype recording directly. This means that ypu will be forced to use additional applications such as Pamela or MP3 Skype Recorder and then import the files into audacity.
- Tagging and exporting Your MP3 File in Audacity
Go to file button and find ‘export audio’ then select MP3 files under the ‘save as type’ from the drop-down menu. Name the podcast and number of episode. Then click save button.
On the Edit Metadata window type all the necessary information.
Save. This template will be saved for future use on other episodes. This will save you time so that you do not have to fill out this type of information. Click OK. Up to this point, your MP3 will export and be ready for uploading.
Now it is time to track your episode number. This will assist you to sort and access the episodes in a particular order.
All podcast episodes should be numbered and have proper titles. For instance: BWYS099: Fire (2017).
On the Artist section: Type the name(s) of episode host (s) and network.
Album: The title of the podcast is the name of your show and not a single episode. Followed by year of release.
Genre: “Podcast”
Comment: Here write a brief summary of the episode. This must be the same as the excerpt on your blog or website.
Copyright: write “@2017 Kerosi Dotcom Design” Note that the symbol @ should at all times precede the year.
URL: This is your blog notes web address.
Cover or photo: This is your podcast cover photo or art. Take your time in designing this because it can attract listeners.
Metadata is very useful when you intend to list your podcast in a directory.
Theme Music
It is important to find some theme music. Though this can be optional. Identify some free tunes since creating your own tunes may be very difficult. I got mine from free YouTube Music Library. My friends have told me that they get their music theme from Free Music Archive.
Once you have your favorite music, you will just credit the creator on the podcast description section.
If you are covering several topics, you may have to add podcast topics for easy access by your listeners. This grants your podcast users great control and great experience. These chapters are applied the same way books apply chapters.
5. Choose a Powerful Name and Design a Cover Art Image
To help your audience find the podcast, the name chosen is very essential. It’s advisable that you choose a name that communicates to your listeners what your podcast is all about. If it is a politics podcast, the title should give people a clear idea on what the podcast is all about.
An image on your podcast is a powerful way to attract attention. This is the first contact with your listeners. Make sure this is appealing to the eye.
This can be artwork, a photo. It all depends on how you want to present your show to the world. If the show is about you, use your own photo. Alternatively, you can use a logo. But make sure, the logo has something about your podcast. The main objective is to convey the topic of your podcast as clear as possible. If you cannot design it yourself, just OUTSOURCE. There are websites such as UPWORK, Freelancer, PeoplePerHour.com and Fiverr to hire designers.
Tips on choosing Images:
- Choose minimum 1,400px by 1,400 px
- Preferred image type: jpg. or png.
- Make sure image is readable
All color-based artwork or illustrations should be designed using vector editors such as Adobe Illustrator. The advantage is that these can be scaled to any size without losing their quality.
Adobe Photoshop is a powerful app for editing images more easily. Having a good name and great piece of art representing your show you are ready to begin recording podcasts. Photoshop is actually a market leader in editing and retouching images.
- Find a Host for your Podcast
It is important to identify a host for your podcast. Once it has been hosted it makes distribution very easy. Share your podcast show with podcast directories using RSS feed.
The following options may interest you:
SoundCloud – Free podcast hosting.
Podbean: There is a free option here. The site has an Android and iOS app for listening. In addition, there are analytics tools to match.
Podomatic: This site offers free hosting with generous bandwidth.
Libsyn: This is a podcast hosting site considered to be one of the finest. Sorry, there are no free options.
Amazon S3: This is a free hosting service provided by Amazon.
Fireside: This is a new platform for hosting podcasts. It offers unlimited storage, episodes and downloads for your podcasts.
Fill out all the sections such as your profile such as your show’s description. Then upload your MP3 file. The hosting site will allow you to listen to the podcast right on the platform.
- Submit your podcast on iTunes
You can submit your podcast to directories such as Miro, Blubrry and Stitcher. The most powerful directory is iTunes. This is directory has the widest reach and is popular.
READ MORE: Mather Tyler Oakley
2 thoughts on “HOW TO ESTABLISH A PODCAST, STEP-BY-STEP”
Comments are closed.
Hi, bing lead me here, keep up nice work.